

Getting Started
Connect your AI agents to SealGate in minutes.
1. Sign Up at dashboard.sealgate.ai
Go to dashboard.sealgate.ai and create an account. SealGate is a self-serve product - sign up with your work email and your organization is created and activated automatically. There's no approval queue or activation email; your account is ready to use as soon as you sign up.
2. Sign In and Connect Your AI Agent
Sign in to your dashboard. You land on the onboarding screen, where you pick your AI client and copy a single connect artifact:
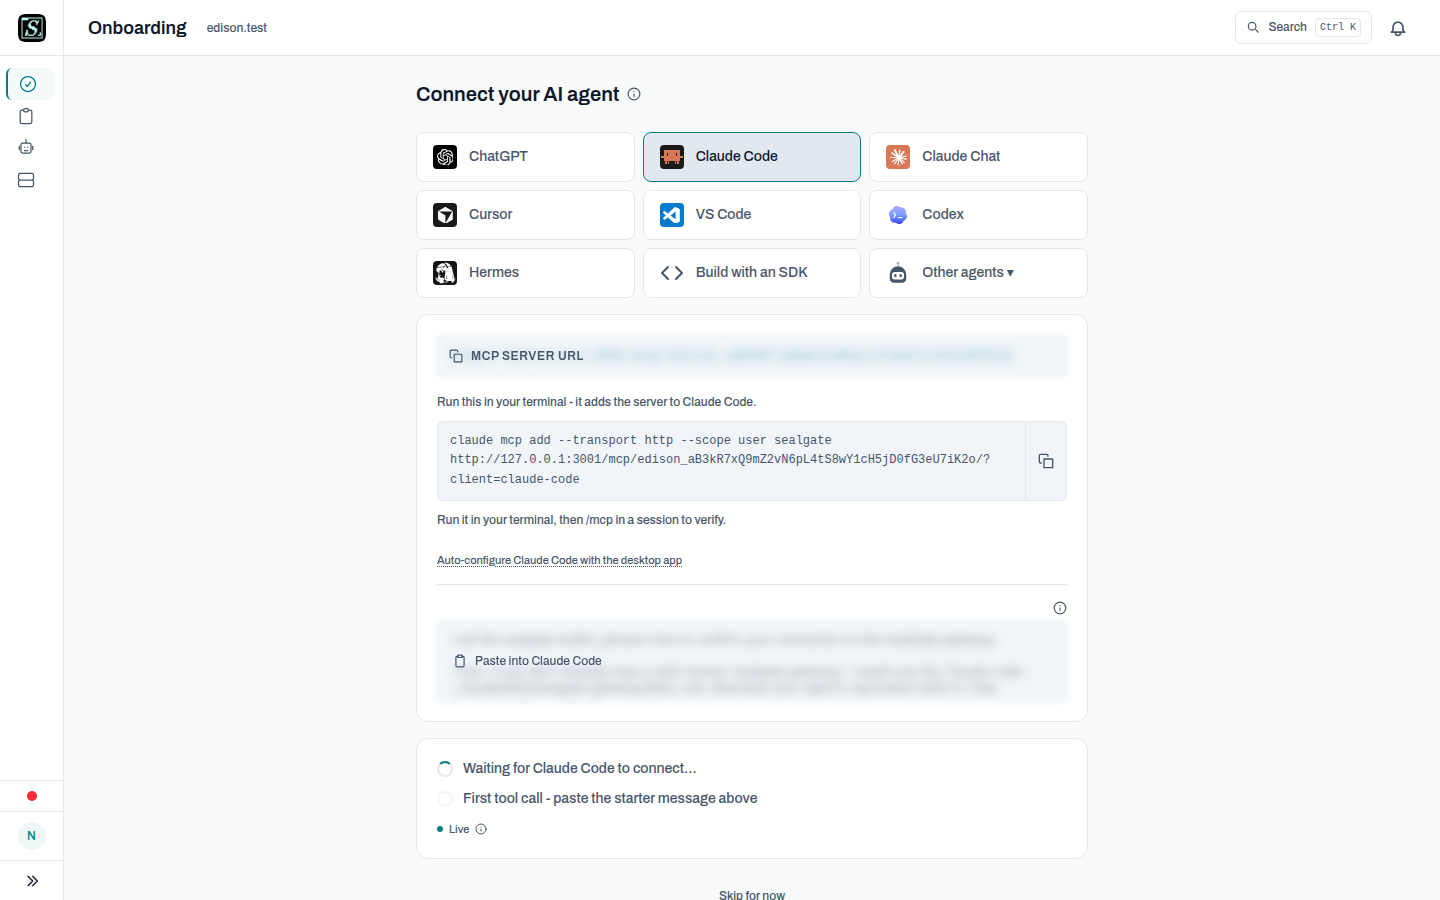
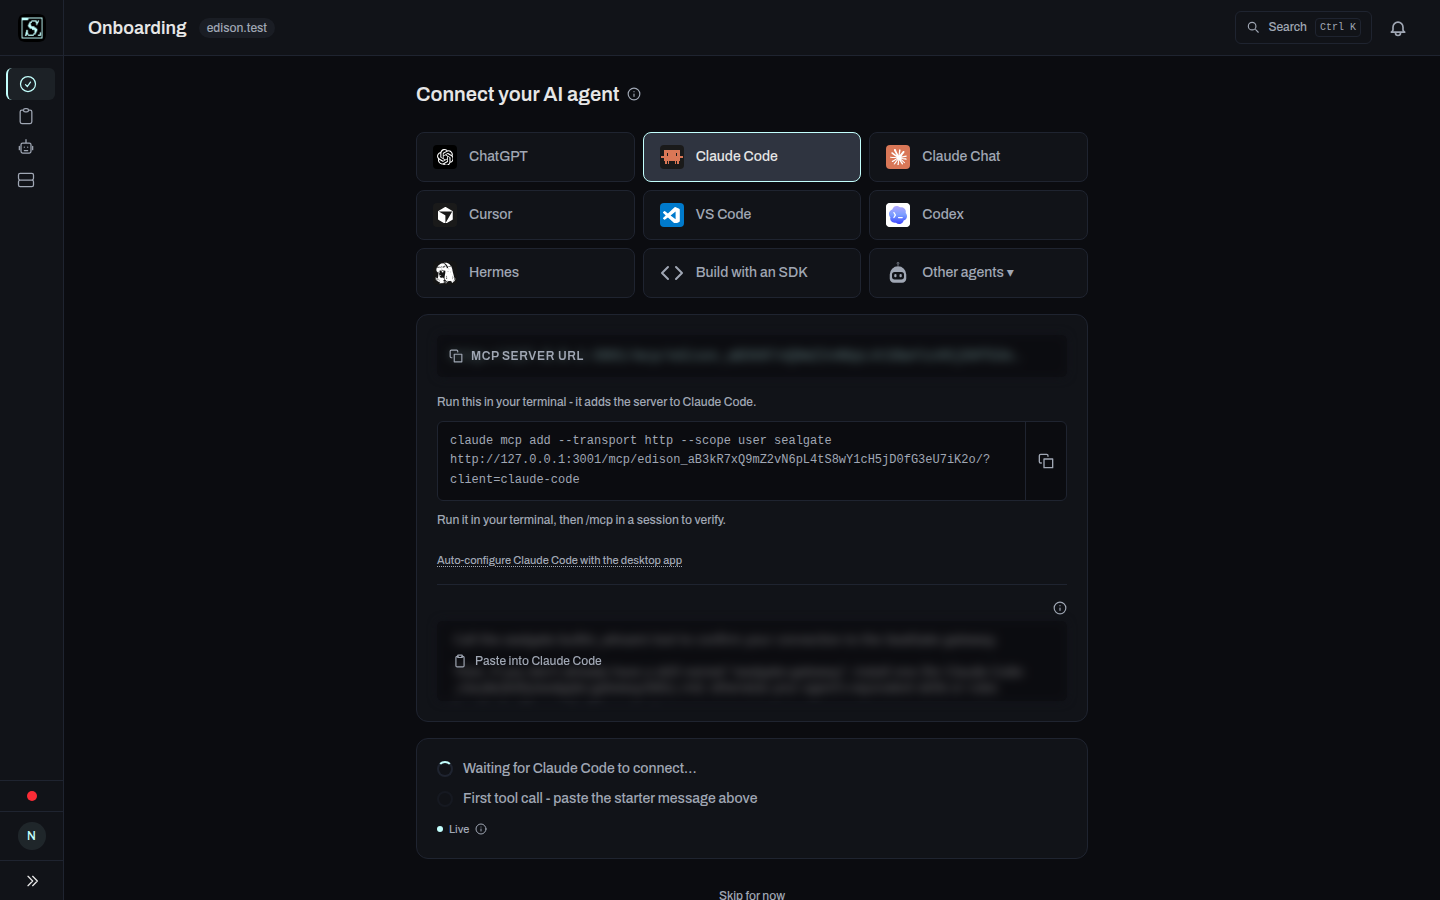
- Pick your AI client - Claude Code, Cursor, ChatGPT, VS Code, Codex, or any other MCP-capable agent.
- Copy the connect artifact - one command or config snippet that points your agent at SealGate.
- Make your first call - paste in the starter message. The screen flips to a success state the moment SealGate sees your first proxied tool call.
Admins can go further:
- Watch a block now - click See what SealGate blocks on the onboarding success screen. It runs a scripted attack through the Demo Trifecta Server and is always enforced, so you see the block without changing any settings.
- Reproduce it with your own agent - the pre-installed
demo-trifectaserver ships disabled and enforcement is off by default, so do both: enabledemo-trifectafrom Manage Connectors (card actions menu > Enable), then turn on Block lethal-trifecta writes in the Lethal Trifecta Protection card on the Guardrails page. See Settings. - Hold new MCP servers for review - turn on auto-quarantine so newly detected servers are held before use. See MCP Quarantine.
Find more MCP servers on smithery.ai or glama.ai.
3. Work Protected
SealGate runs in the background from here:
- Monitoring - every tool call is logged with full context.
- Blocking - ACL violations are prevented automatically.
- Approvals - risky or policy-matched actions pause for review.